Perfectly Piped and Zipped Cushions Workshop!
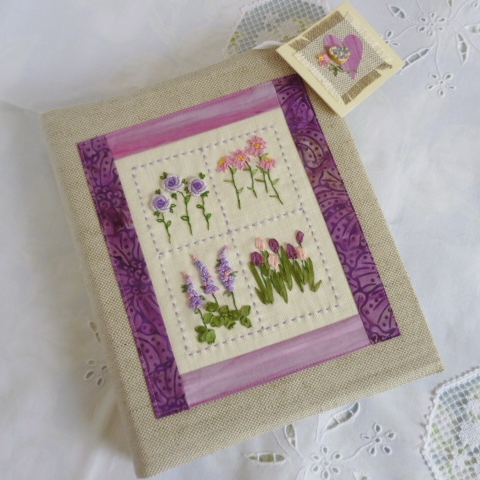
I have run workshops in the past on appliqued cushions, as applique is one of my favourite techiques as you will see from the photograph. I love to use applique to embellish and create all sorts of items from cushions, cosys, books, pictures, to bags and hoop art! You name it I’ve probably attempted to applique it! On this occasion I was asked to run a workshop on how to put piping and zips into cushions so a skills based workshop was created.

I’m not a big fan of zips as usually I enjoy using buttons to add extra interest to the reverse of a cushion.

However, zips was what I was asked for so zip insertion was what we did! We tackled this step by step and everyone managed this well, phew! Now putting in piping is no big thing but just a few little tips and ensuring the binding for the piping cord is cut on the bias ensures a perfectly piped cushion!


I very rarely make straight forward cushions and always look to add some sort of detail, I just can’t help it! so in this workshop we added a piped and pieced strip to the front and added button embellishment (well there had to be buttons somewhere) .


I hope you will agree that there are some fabulous results and I was so proud of the very professional finish that everyone achieved especially as it was the first time most of the attendees had inserted piping and zips, which just goes to show that a few tips and keen and enthusiastic people make all the difference. If you fancy joining us for a workshop please look at our Learn How page. Happy sewing!


I really enjoyed this workshop. I used my own fabric, left over from some curtains and was able to make two matching cushions (I finished the second one successfully at home). I’m going to try to make some more using contrasting fabrics as Jane did. Incidentally, John Lewis no longer stock piping cord!
I’m really pleased that you enjoyed the day Trish and now have a pair of lovely cushions! I can’t believe John Lewis not stocking piping cord especially as they sell soft furnishing fabric! Try Victoria Market I’m sure they’ll have it.